The Best 11 Excel Shortcuts You’ll Ever Need (With Examples)
They say, “Time is money” and who doesn’t want to save on money? 😃
If you are short on time too, then this article is for you. Microsoft Excel offers plenty of keyboard shortcuts to help users work swiftly and efficiently.
All you need is a good sense of Excel keyboard shortcuts to do almost everything with your keyboard only. This means your mouse goes to rest – and you can work faster and better.
Here are the best 11 shortcuts of Excel that you’ll need time and time again. So dive right in.
Hold on! Don’t forget to download our free sample workbook here as you continue reading.
Table of Contents
Shortcut No. 1: Insert columns
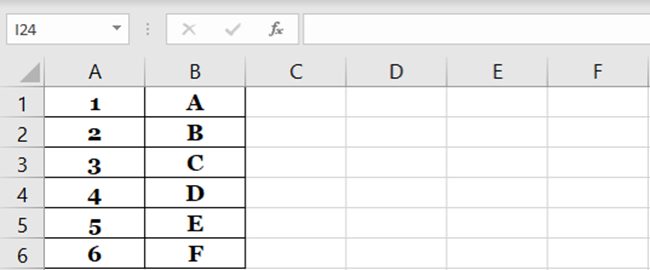
Here’s an image with two parallel columns of data. Can we add a column between them both?
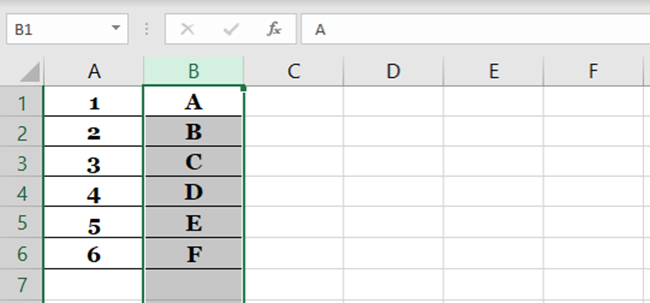
- Select the column before which a new column is to be added (Column B).
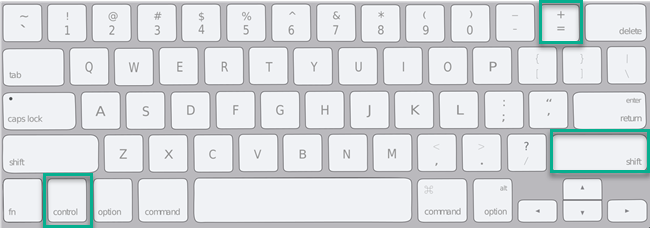
- Keyboard Shortcut: Press down ‘Shift Key + Control key + Plus Sign (+)’ together.
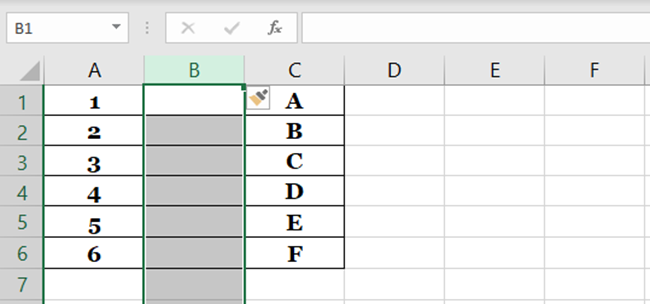
- Here comes a new column as Column B. The old Column B now becomes Column C.
Pro Tip!
To add multiple columns together:
Select the same number of columns before pressing down ‘Shift Key + Control key + Plus Sign (+)’. For example, if you want to add two columns after Column A:
- Select Column B & Column C (two columns immediately after Column A); and
- Press down ‘Shift Key + Control key + Plus Sign (+)’.
Shortcut No. 2: Insert rows
Similar to the example above, the data now takes the shape of two adjacent rows. Can we insert a row between them both?🤔

- Select the row before which a new row is to be added (Row 2).

- Keyboard Shortcut for inserting rows: Press down ‘Shift Key + Control key + Plus Sign (+)’ together.
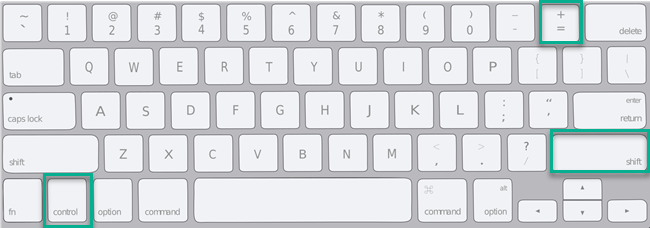
- Here comes a new row before Row 2.

Pro Tip!
To add multiple rows together:
Select the same row numbers before pressing down ‘Shift Key + Control key + Plus Sign (+)’. For example, if you want to add two rows after Row 1:
- Select Row 2 and 3 (two rows immediately after Row 1); and
- Press down ‘Shift Key + Control key + Plus Sign (+)’.
Shortcut No. 3: Delete rows
In the image below, can we delete Row 2 entirely?

- Select the row to be deleted by clicking on the Row Header (Row 2).

Keyboard Shortcut: Press down ‘Control key + Minus Sign (-)’ together.
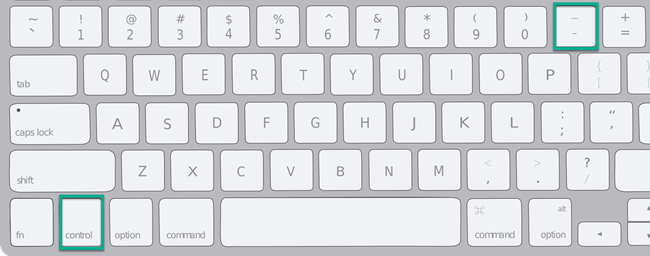
- Swish! Row 2 disappears and Row 3 has now become Row 2.

Can we delete multiple rows (Rows 3 and 4) together?
- To delete multiple rows together, select the rows to be deleted (Rows 3 & 4).
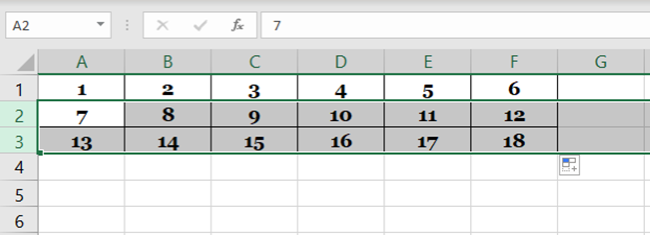
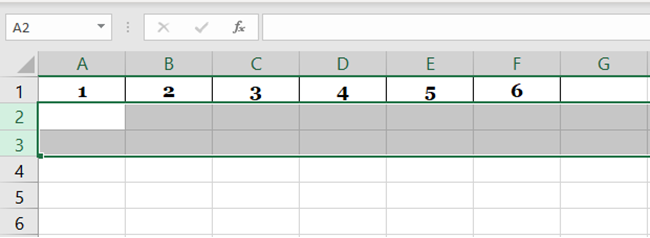
- Press down the ‘Control key + Minus Sign (-)’ together.
- Excel will delete all the selected rows.
Shortcut No. 4: Delete columns
In the image below, how can we delete Column B?
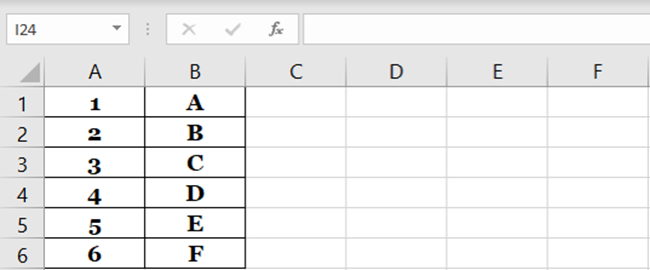
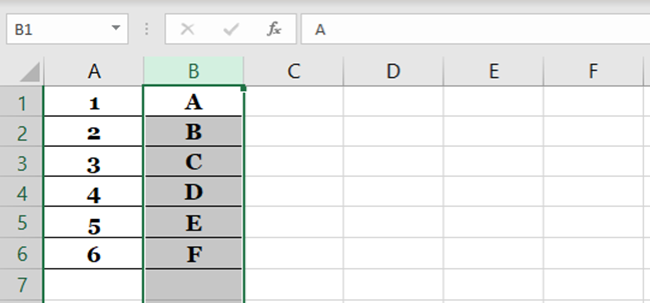
- Select the column to be deleted by clicking on the Column Header (Row B).
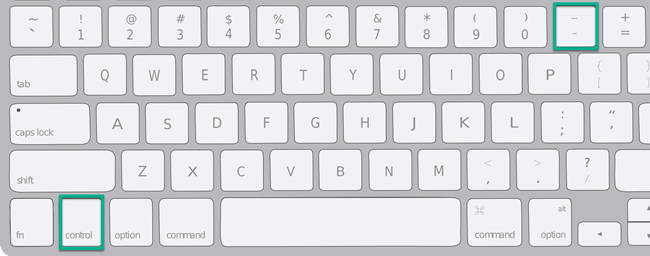
- Keyboard Shortcut: Press down ‘Control key + Minus Sign (-)’ together.
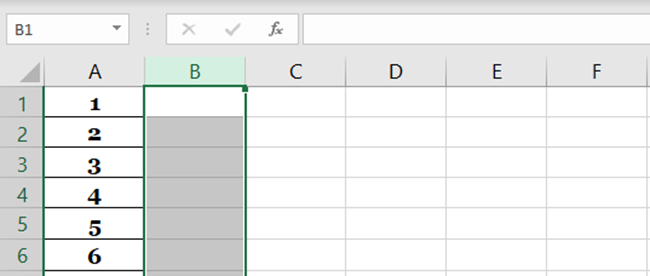
- And Column B disappears from the picture just like that.
- To delete multiple columns together, select all the columns to be deleted.
- And Press down the ‘Control key + Minus Sign (-)’ together.
You can also delete columns and rows in Excel without selecting the entire column or row. Instead, you can also delete it by selecting any cell of that column or row.
Doing so, Excel would raise a prompt asking to delete the entire selected row or column. Select the desired option, and the row/column would be deleted.
Shortcut No. 5: Autosum
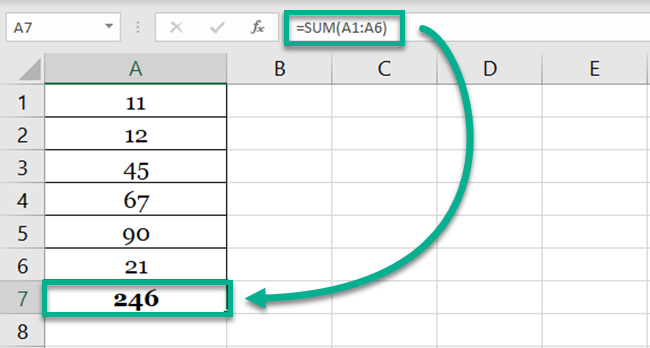
The SUM function is one of the most commonly used functions of Excel. Here’s a very smart shortcut key to it.🧐
The image below shows a list of numbers.
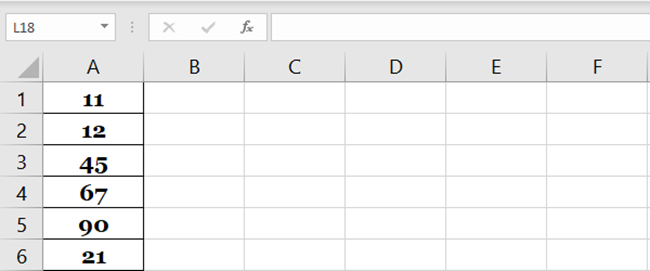
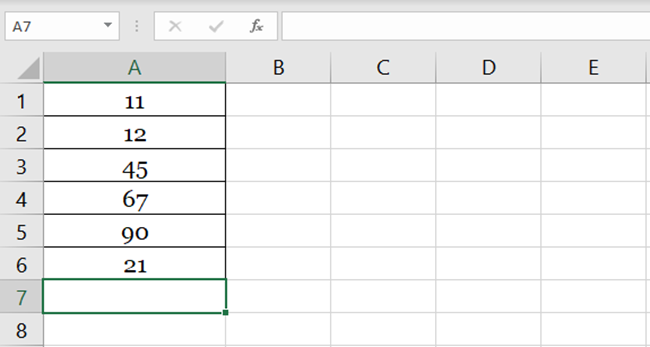
- To sum them all up, activate a cell next to where the list ends.
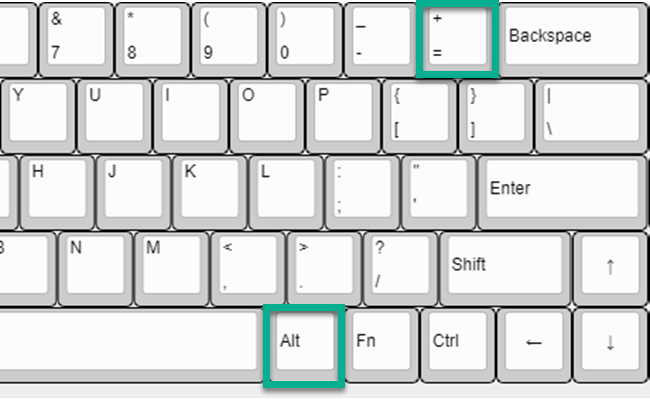
- Keyboard Shortcut: Press down ‘Alt Key + Equals Sign (=)’ together.
- Excel will automatically identify the range in any of the adjacent cells.
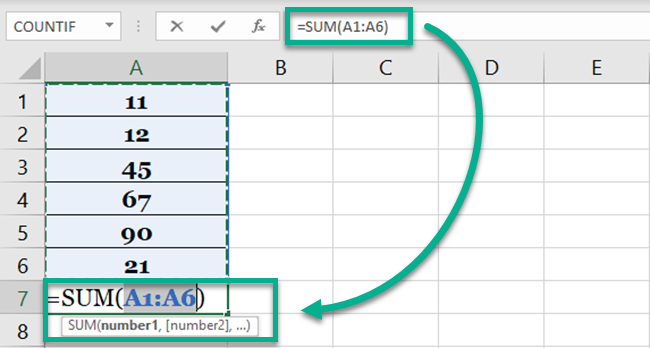
If you have a different range to sum, you may change the range manually by changing the cells’ absolute and relative references.
- Press ‘Enter’, and here comes the total.
Shortcut No. 6: Undo
You might have been looking out for this section of the article 😉.
The savior – Undo in Excel. Strolling through a spreadsheet, we often click here and there mistakenly which results in actions we’d never wanted.
But don’t worry – two keys can bring you back from the blues.
- To undo the very last action performed in Excel, press down the ‘Control Key + Z key’ together.
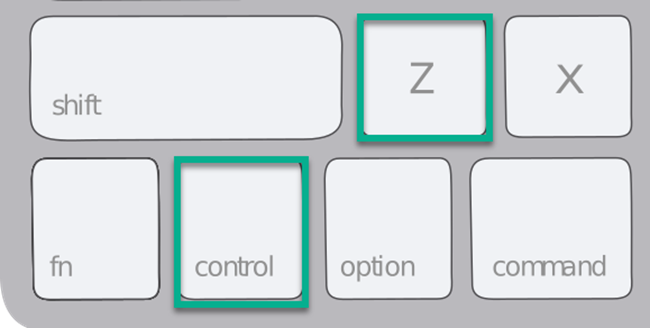
- To undo actions done further in the past, keep pressing the ‘Control Key + Z key’ together.
- Every time the above two keys are pressed, Excel takes you one action back.
By default, Excel has an undo history of 16 last actions. This means you can use the above shortcut to go 16 steps back (at max).
You can increase this limit as desired. But a greater limit would take more RAM and hence, Excel might lose out on its performance efficiency.
Shortcut No. 7: Redo
Soon after an undo, you may need to redo what was just erased by Excel.
Don’t worry – Excel also offers an option to restore the last deleted action.
- To redo the very last action deleted in Excel, press down the ‘Control Key + Y key’ together.
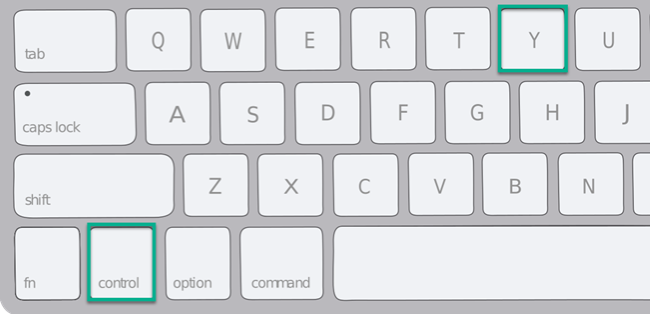
- To redo actions deleted further in the past, keep pressing the ‘Control Key + Y key’ together.
- Every time the above two keys are pressed, Excel restores the last action.
Shortcut No. 8: Fill Color
A spreadsheet without colors? Nah, sounds so boring.
- To quickly add colors to a cell (or multiple cells), select them.
- Keyboard Shortcut: Press down ‘Alt Key + H key + H key’. That’s about pressing the H key two times in a row after the Alt key.
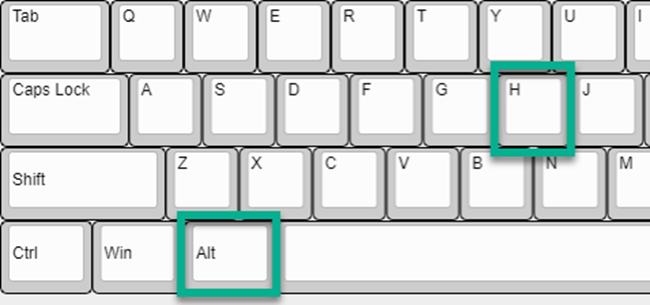
This launches the color fill menu.
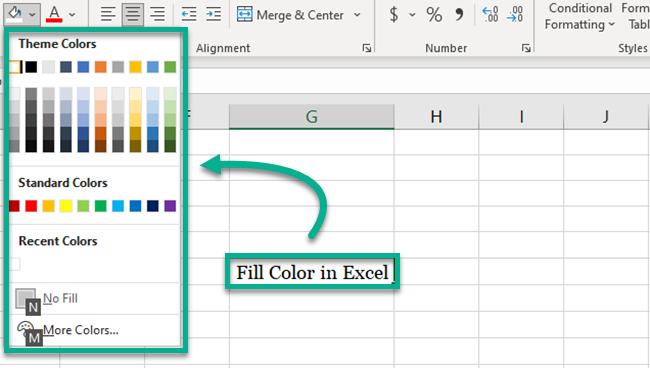
- Use the arrow keys to move between colors. Once you have reached the desired color, Hit Enter.
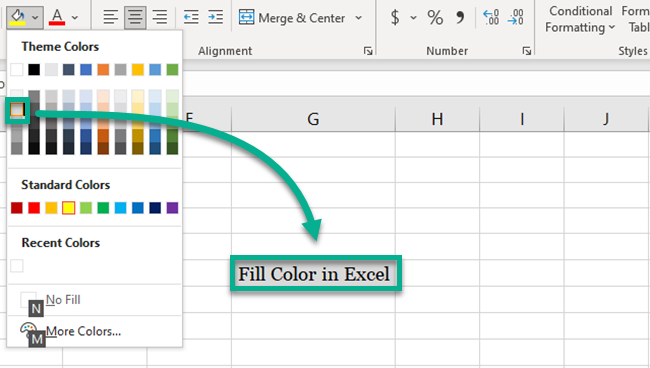
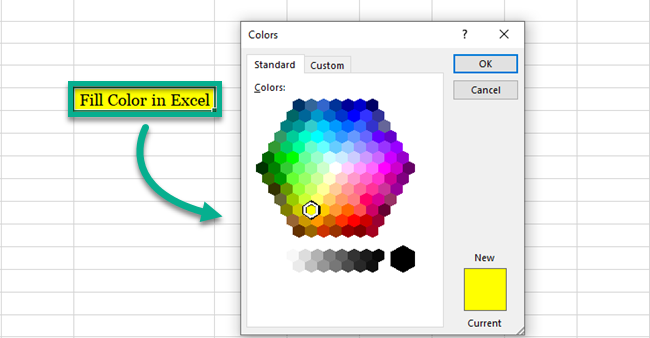
- If you want a different color than the basic Excel palette, press the M key.
- This launches the colors dialog box from where you can choose any color of your choice.
Shortcut No. 9: Copy / Cut & Paste
Ever thought about what would have happened if there was no option to copy/paste? Hard to imagine even.
But thank god! We have the cut/copy & paste tools and some very swift keyboard shortcuts to them too.
- To copy the contents of a cell in Excel, select that cell (or multiple cells).
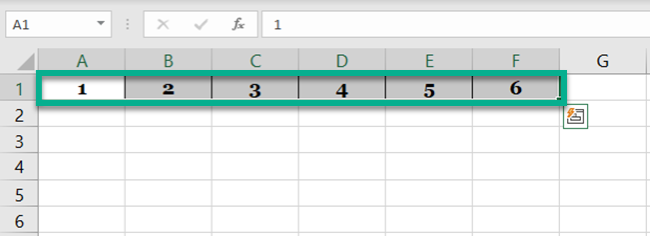
- Keyboard Shortcut: Press down ‘Control Key + C key’ together.
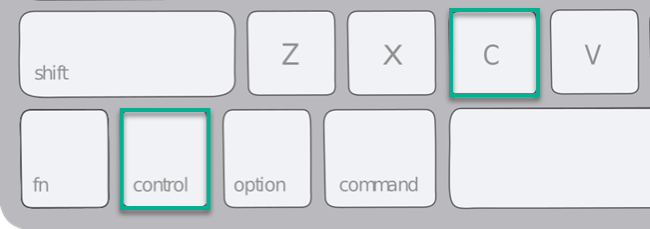
- Excel copies the selected cells.
- Select the destination cell. If you have copied multiple cells, select the first cell of the destined location where you want them copied.
- Keyboard Shortcut: Press down ‘Control Key + V key’ together.
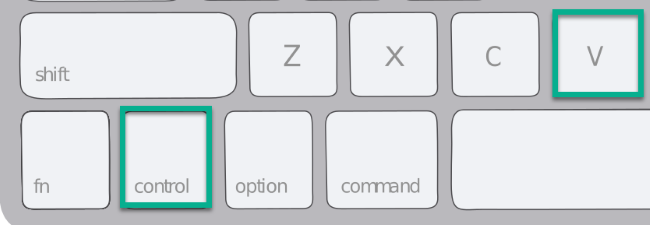
- Excel pastes the selected cells to the destined cells.

How to cut/paste cells in an Excel spreadsheet?
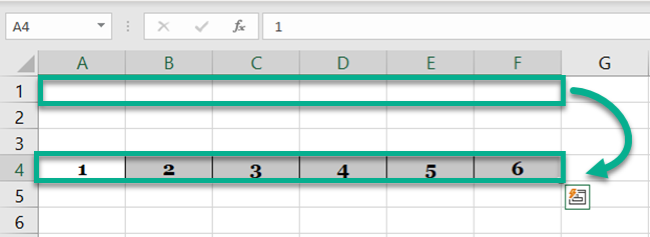
- To cut (remove) the contents of a cell in Excel and paste them to another location, select that cell (or multiple cells).
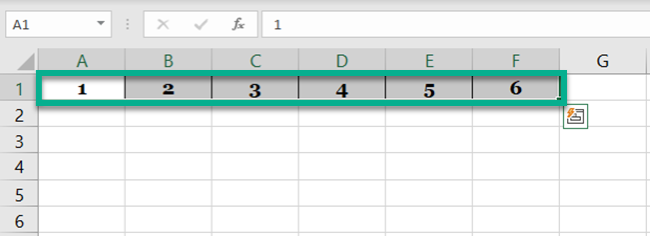
- Keyboard Shortcut: Press down ‘Control Key + X key’ together.
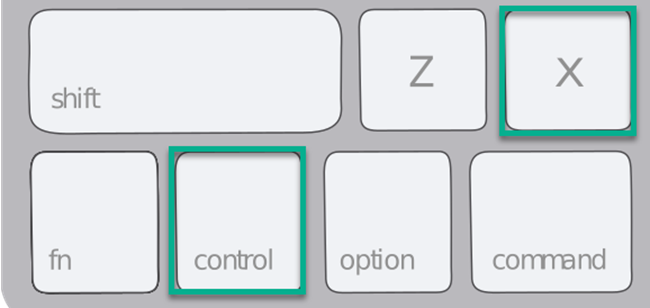
- Excel removes the content from the selected cells.
- Select the destination cell.
- Keyboard Shortcut: Press down ‘Control Key + V key’ together.
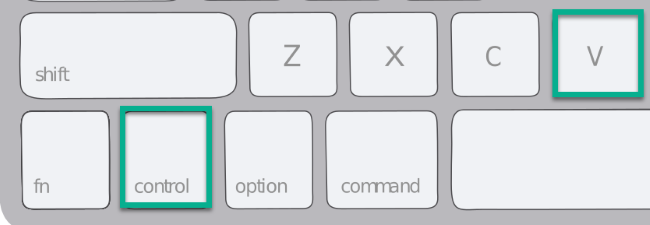
- Excel pastes the selected cells to the destined cells. However, the original cells are now removed.
Shortcut No. 10: Scrolling through worksheets
If you have your data spread across multiple sheets, it might cost you enough time to move between them.
The shortcut that follows will save you so much time by helping you move between sheets with your keyboard. Thank us later 😊
- To go to the next worksheets (towards the right side), press down the ‘Control Key + Page Down key’ together.
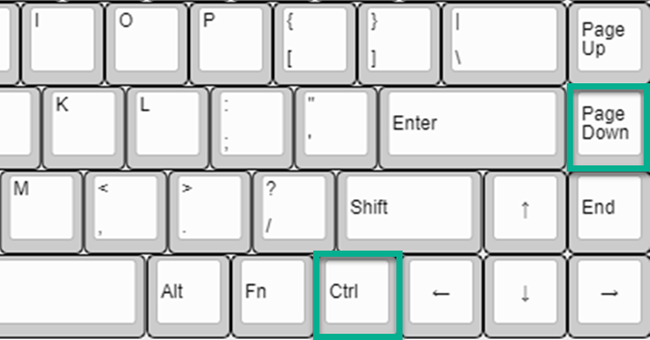
- A single press takes you one sheet next, and so on.
- To go to the previous worksheets (towards the right side), press down the ‘Control Key + Page Up key’ together.
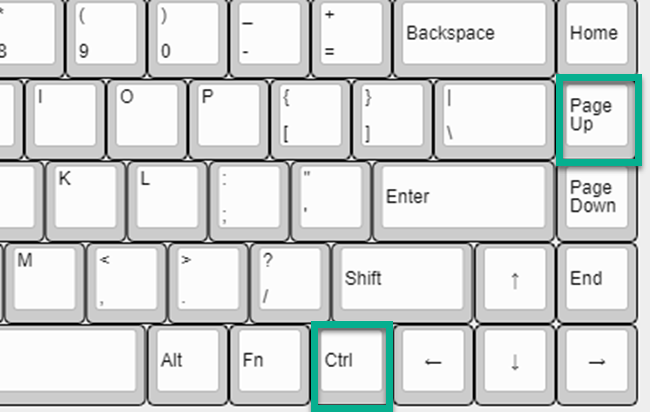
- A single press takes you one sheet back, and so on.
Shortcut No. 11: Bold, Underline, and Italic
Bold, Italic, and Underline are very common formatting tools in Excel. However, only a bunch of users know the keyboard shortcuts for them.
- To bolden the value in any cell of your worksheet, select that cell.
- Keyboard shortcut: Press down ‘Control Key + B key’ together.

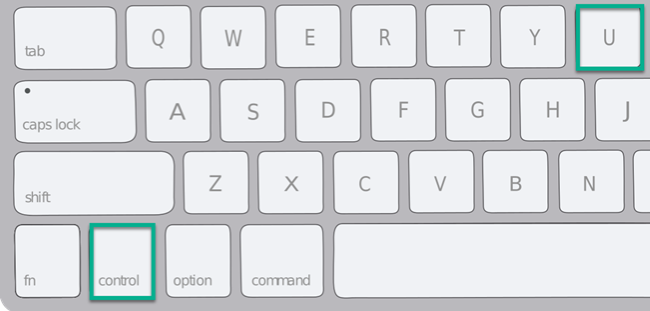
- To underline the value in any cell of your worksheet, select that cell.
- Keyboard shortcut: Press down ‘Control Key + U key’ together.
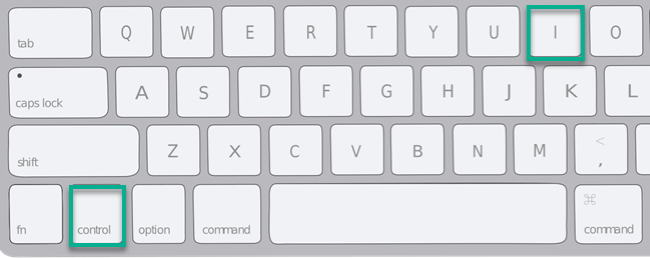
- To italicize the value in any cell of your worksheet, select that cell.
- Keyboard shortcut: Press down ‘Control Key + I key’ together.
That’s it – Now what?
Woah! We are across 11 key Excel shortcuts that will get your jobs done in a jiffy. These shortcuts are sure to help you work your data in Excel in a much more efficient manner.
To make these hacks all the more useful for yourself, use them together with other amazing functions of Microsoft Excel.
The top-notch functions of Excel that one must master include the VLOOKUP, SUMIF, and IF functions.
My free 30-minute email course will take you through these (and many more) functions. Sign up now!
Other relevant resources
Did these shortcut interest you? Yes? Then you’d love to read more about some other hacks of Excel.
Check out our other articles on the strikethrough and the F4 key shortcut.
