How to Add Borders in Excel: Step-by-Step Guide (2024)
Are you tired of staring at bland, uninspiring Excel spreadsheets?
Adding borders is a simple yet effective way to make your data stand out and look more professional.
Whether you’re creating a report or a household budget, adding borders can take it to the next level 💪
In this guide, we’ll show you how to add borders to cells and customize your borders to fit your specific needs.
With a few clicks, you will be able to transform your dull Excel sheet into a masterpiece 🧐
You can also download our sample workbook here to practice adding borders in Excel.
Table of Contents
How to add borders
Adding borders to a spreadsheet is extremely easy, and you can add them in less than two seconds.
Want to know how? Read on 🤓
We have some sample data below.
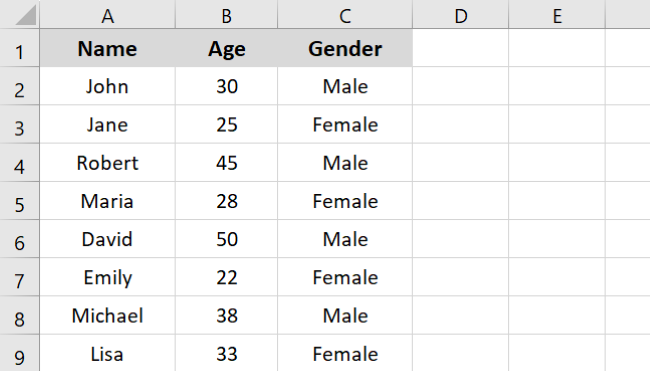
To add borders to this data set,
- Select the data range.
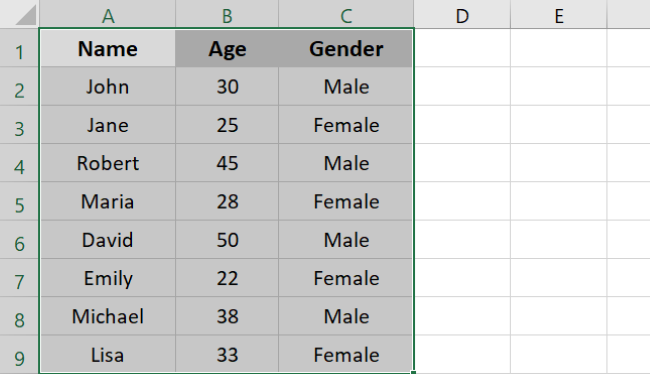
- Go to Home Tab > Border options under the Font group.
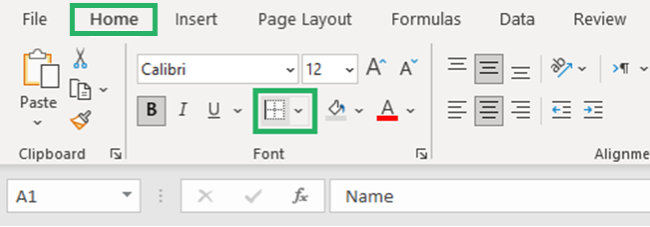
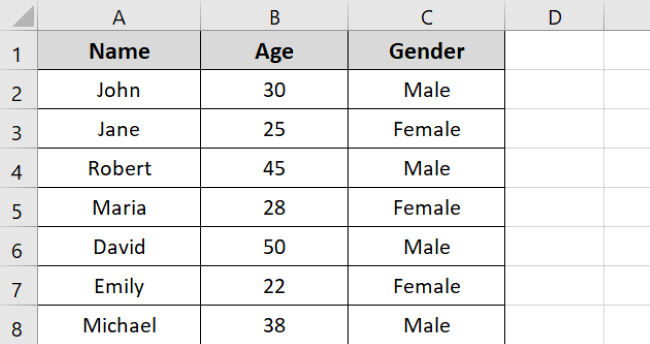
- Click the dropdown and select the All Borders option.

- The borders will appear around all cells as:
Pro Tip!
If you don’t want to add borders to all sides of a cell, you can choose to add borders to specific places. For instance, you can add a border to the left side of a cell using left border and so on.
Outline cells with borders
You can also choose to outline your cells with borders, and the process is simple.
To do that:
- Select the cell or range to be outlined.
- Go to Home Tab > Border Options.
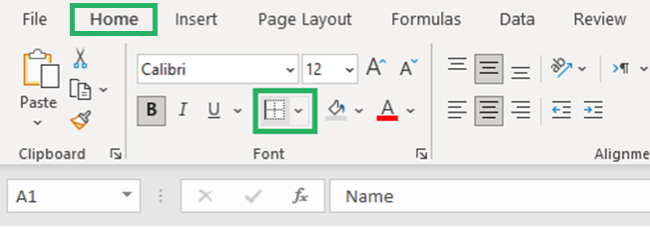
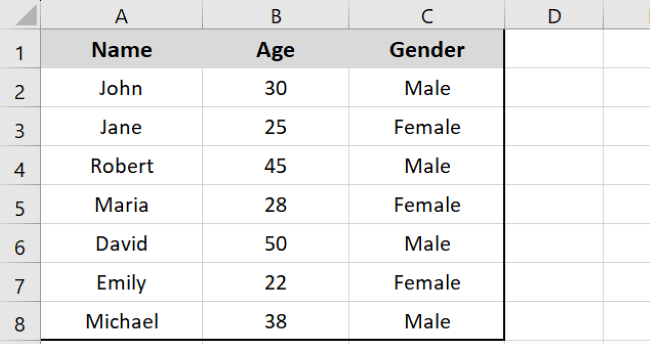
- Select Outside Borders from the options or Thick Outside Borders.

- Outside borders will immediately be applied to your selected range as:
Pretty quick, no? 😏
Add thick borders
You can also change the thickness of cell borders in a couple of clicks.
To do that,
- Select the range of cells.
- Go to Home Tab > Border options.
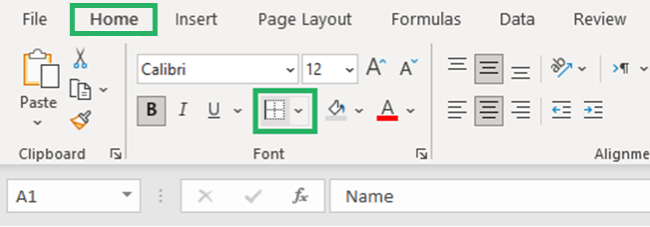
- Click the dropdown menu and select Line Style at the bottom.
- Select the last border style.

- A pencil will appear on your worksheet. Use it to draw thick borders as:
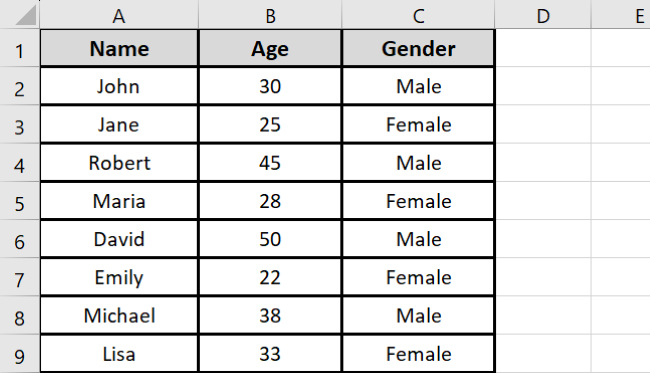
Isn’t this a fun thing to do? Try it yourself! 😃
Change borders
You can change anything in a border, from color to line style. Let’s now see how to change borders in the Excel sheet.
The following sample data contains all borders.
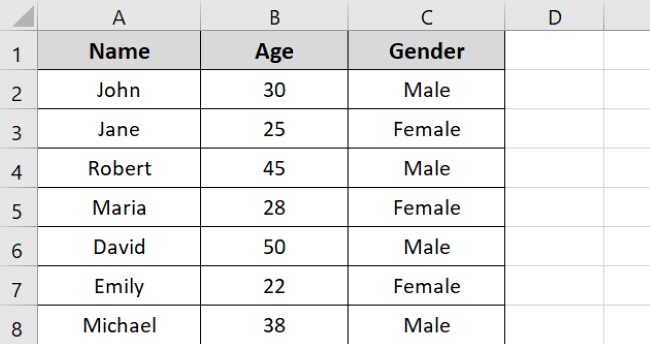
We want to add thick outside borders and change their color.
To do that,
- Select the range of cells containing borders.
- Go to Home Tab > Border Options.
- Select Thick Outside Borders from the list.

- Click Border options again and go to Line Color.

- Select the line color for your borders – we selected red.
- A pencil will appear on the screen. Select the cells whose color you want to change.
The color appears on the borders as:
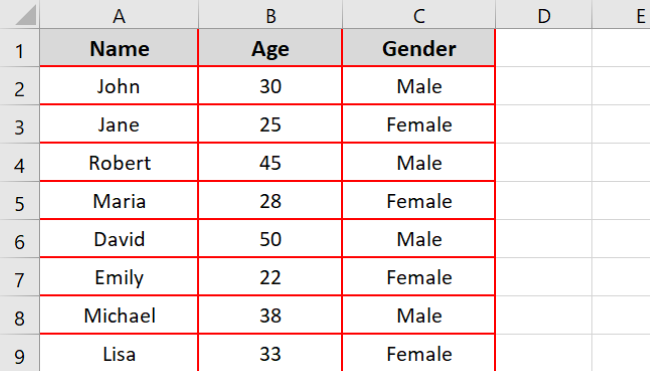
How cool is this? You can choose any border style and color you like 🎨
Practice applying borders in real-time by using this guide’s sample workbook above.
Remove borders
Removing borders is as simple as adding them, and there are two ways to remove borders. We will explore both of these methods below.
Say, we have the following data to which we have applied borders.
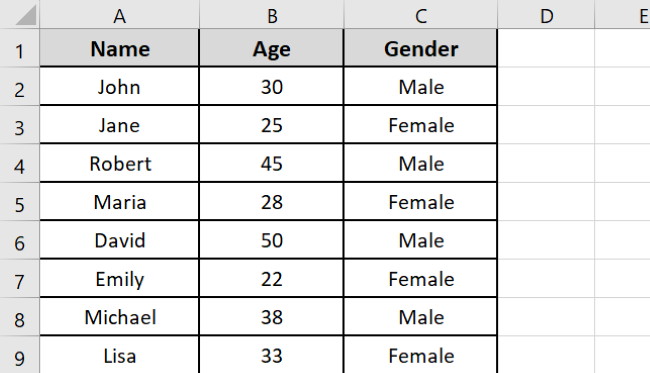
We want to remove all the borders in the worksheet.
To do that,
- Select the cell or range that contains borders.
- Go to Home Tab > Border options.
- Select No Border from the options.

- You can also remove borders using the Erase borders option at the bottom ✏️

- An eraser icon will appear on the screen. Select the cell borders you want to erase.
All the borders will be removed as:
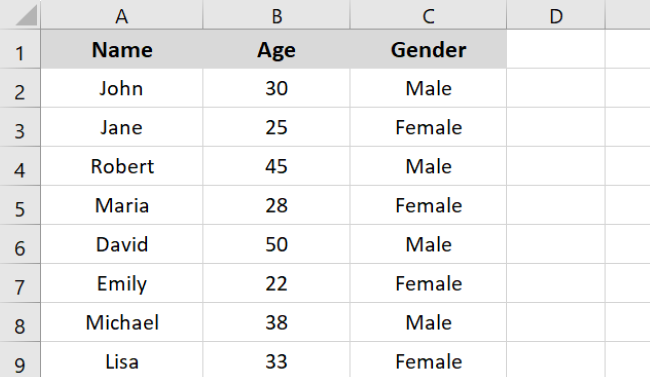
And it’s done! Pretty easy, no? 🤩
That’s it – Now what?
In this article, we saw how to add borders in Excel. We also saw how to outline cells with borders, change borders and even remove them.
Borders can instantly add a look of sophistication to your Excel spreadsheet. With the easy-to-follow steps outlined in this guide, you can quickly add borders to your cells.
So why not take a few minutes to spruce up your spreadsheet and give it a polished look it deserves? 🥇
Similar to adding borders, Excel has a variety of other useful tools and features. The most important of which are Excel functions. Some of these include IF, SUMIF, VLOOKUP, etc.
You can learn them for free in my 30-minute free email course that teaches just this and more. So sign up now!
Other relevant resources
Did you learn something new from this guide today? If yes, then you’d love to know more.
Read similar topics: Conditional Formatting, Number Formatting, Clear Formatting, and more.
