STOP Excel From Printing Blank Pages: Step-by-Step (2024)
Here we are dealing with the problem when your spreadsheet in Excel has little data (that you want to be printed)👇
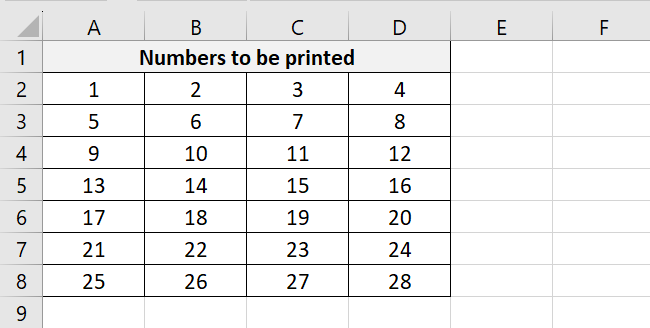
But as soon you hit the Control Key + P, Excel shows there are tens of pages to be printed.
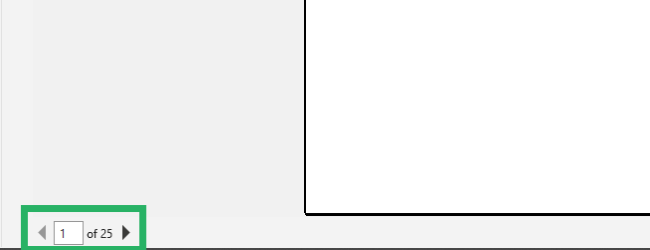
Excel printing blank pages!
Why is that? What are all those blank pages? Why would Excel consider them for printing when they have no data on them🤔
All of this and 3 different methods of how you can stop Excel from doing that come in the guide below. So download our free sample workbook for this guide here and continue reading📝
Table of Contents
Method #1: Remove formatting
Here comes the first problem that’s causing Excel to print extra blank pages.
In the image here, we have data spread across four columns (Columns A to D) and 8 rows (Rows 1 to 8)👀
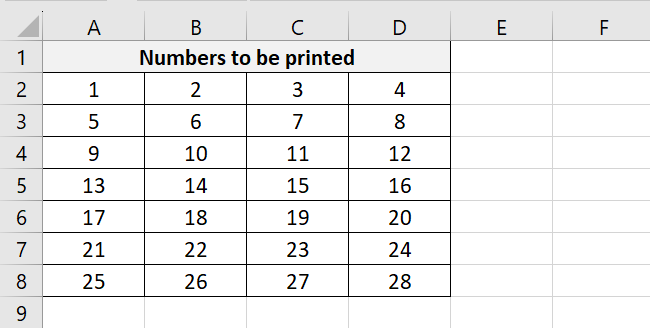
And apparently, we don’t see anything else on the sheet. It seems clean.
But the print preview shows there are 9 active pages😮
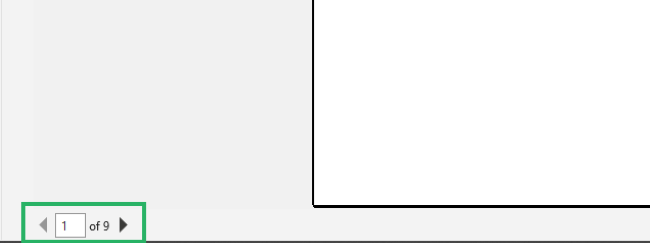
Scrolling through the print preview shows there is some formatting applied far away.

Scrolling through the sheet, it turns out that Column BX (really far away in the sheet) has some formatting applied to it. This tells Excel to print all sheets until Column BX🔎
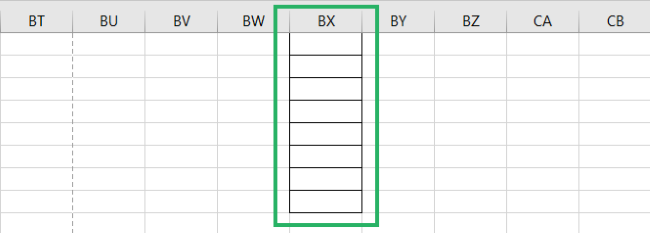
It often might be difficult to identify which columns on the side has some formatting applied.
An easy way to help this issue is to:
- Select the last row column/row that you want to be printed. In our example, this is Column E.
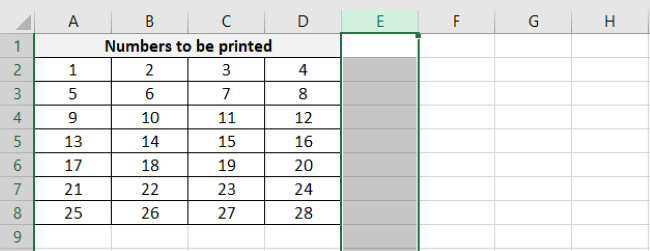
- Press down the Control key + the Shift key + the End key / the right-sided arrow.
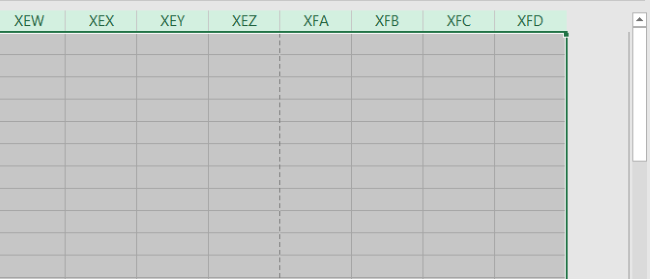
This selects all the columns until the last column of the sheet📝
- Go to the Home Tab > Clear > Clear All Formatting.
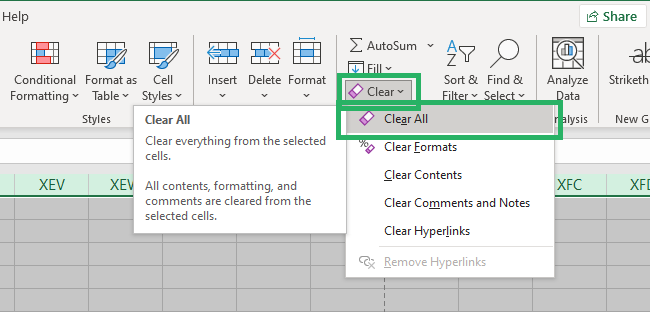
Use can also use the sticky keys, the Alt key > H > E > F to do the same.
- This will clear all the formatting (if any) from all the selected columns.
- Now press the Control key + P to see the print preview again.
That gives a clean print of only the table on one page. No more extra blank pages😎
Method #2: Remove blank rows between data
Another problem that might cause Excel to print extra blank pages is extra rows between your data.
In the image here, we again have data spread across four columns (Columns A to D) and 8 rows (Rows 1 to 8).
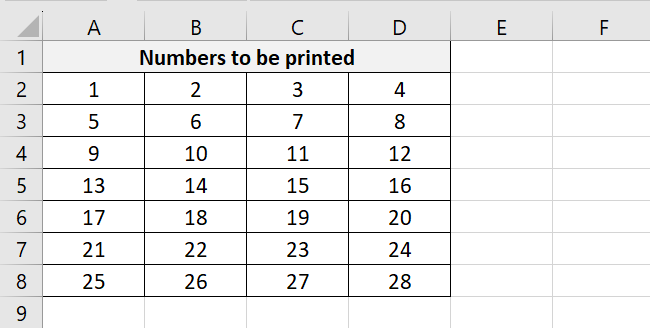
And apparently, we don’t see anything else on the sheet. It seems clean.
But the print preview shows there are 3 active pages😏

Scrolling through the print preview, this time a row far away in the sheet has some data to it.
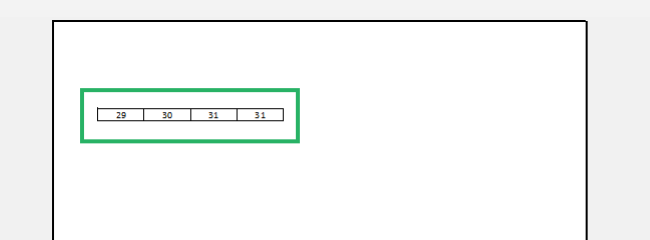
To check if the sheet you’re printing has some extra data on the sides:
- Go to the last row/column of the data. Row 8 in our case is the last row that contains data.
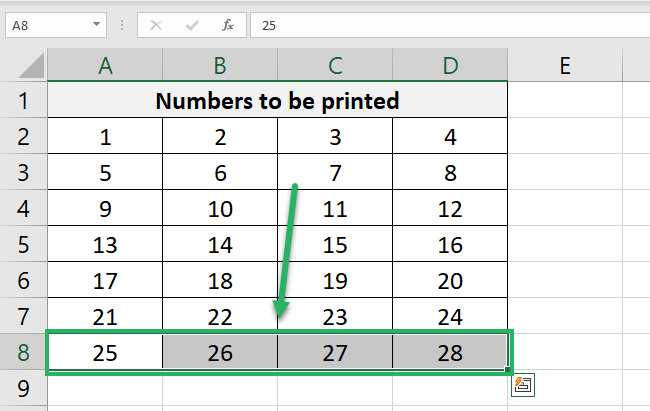
- Press the Control key + the down arrow (or the right arrow in case of columns).
- Excel will navigate you to the next row of the sheet that has data.
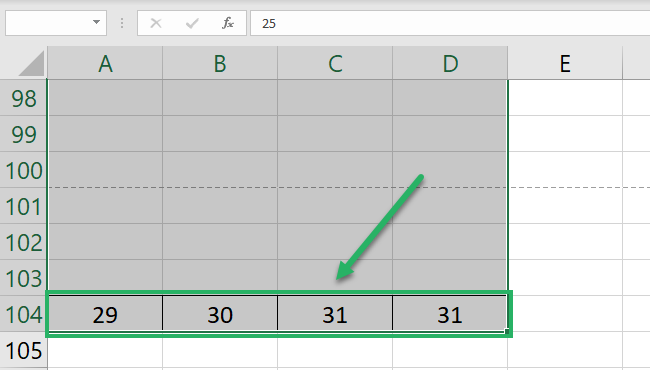
This shows that Row 104 also has some data.
And there are plenty of rows between Rows 8 and 104 that are causing these blank pages❌
To remove the blank rows in between:
- Go to the first blank row (Row 9 in our case).
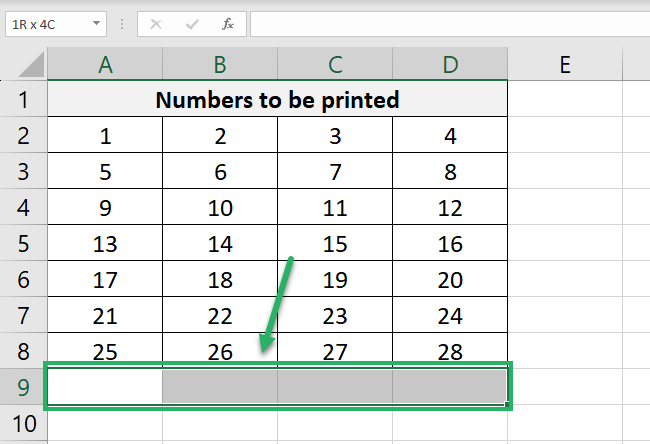
- Press the Control Key + the Shift Key + the down arrow.
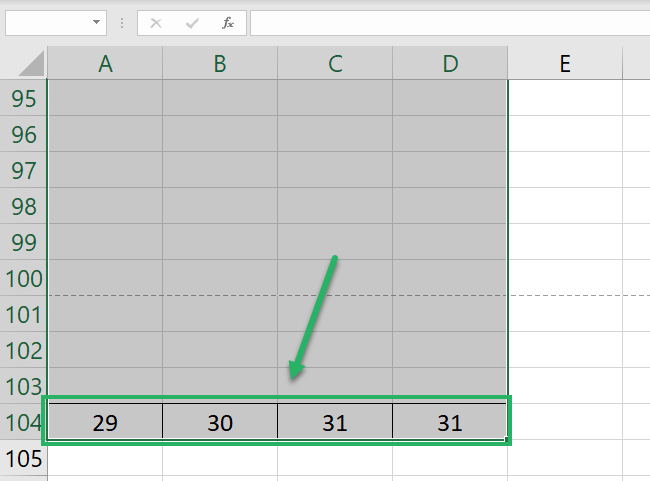
Doing so will select all the rows until the next row that has data (Row 104).
- As we do not want to delete Row 104 itself (it contains data), press down the Shift Key + and press the upward arrow.
This will unselect one row down (Row 104)💡
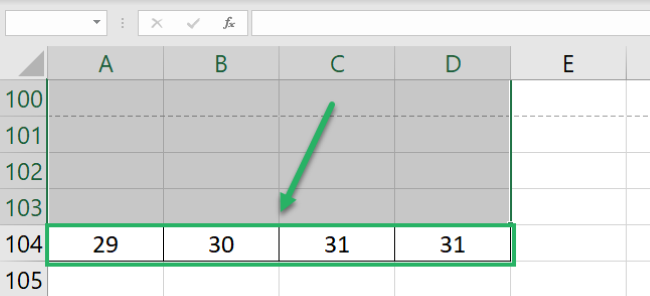
Now we have all blank rows from Row 9 to Row 103 selected.
- Go to the Home tab > Delete > Delete rows.

Alternatively, press the Control key and the – key to delete the selected rows.
And tada!
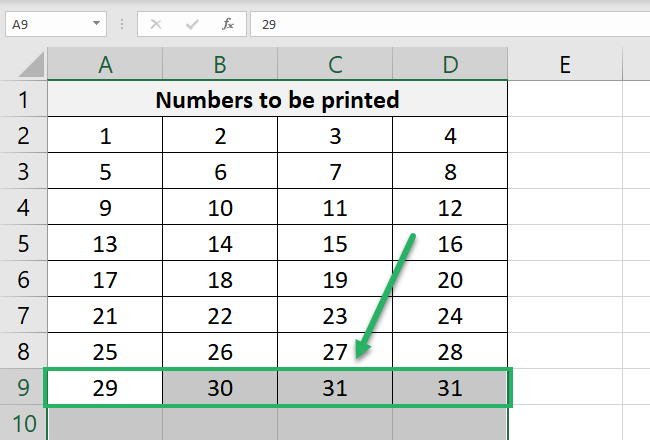
Now there are no more blank rows in our data, so let’s go and see how the print preview changes🧹

Yay! No more blank pages. We have the relevant data table on page 1 only.
Method #3: Fit to one page
Another way how you can stop Excel from printing multiple blank pages is by fitting all those pages on a single page🚩
To do that:
- Go to the sheet to be printed.
- Click the Control key + P to see the print preview.
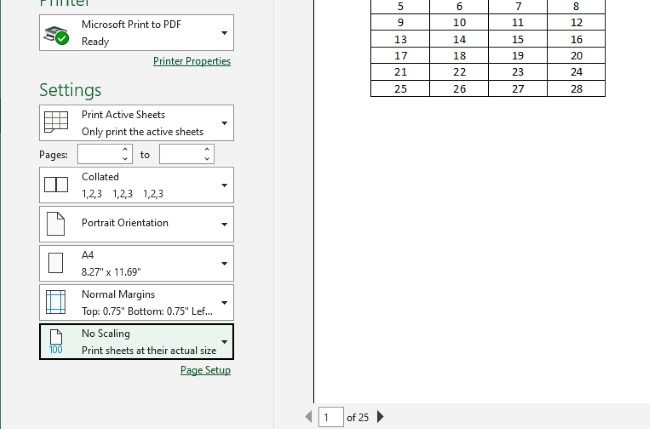
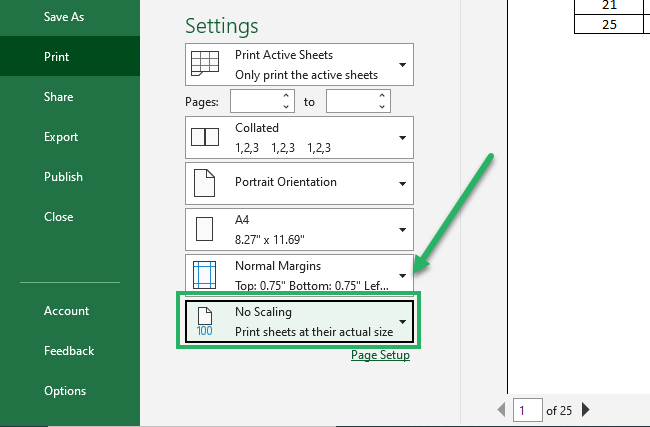
- From the options on the left, go to the last option.
- Select Fit Sheet on One Page.
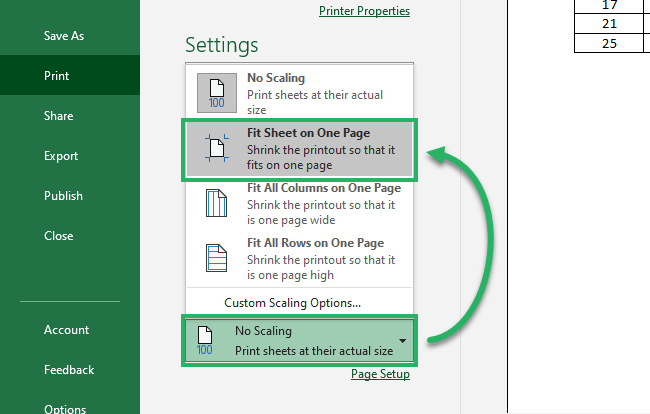
This will resize all the content on your MS Excel Document to fit it and print it on one page🎯
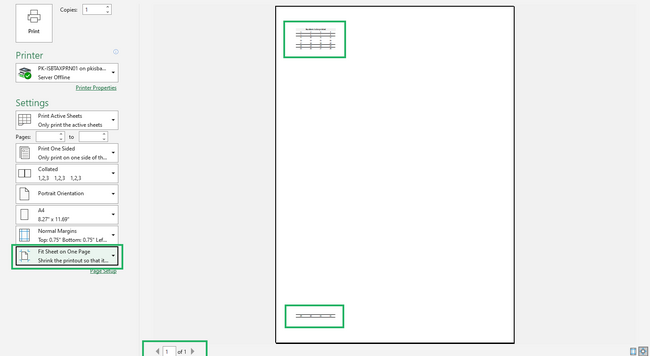
If there are too many empty rows/columns in between, this is probably going to squeeze out the content too much.
But there would be only one page to be printed and no other blank pages✌
If that’s not how you want it to be printed, fitting the sheet on one page can help you identify what else is there causing blank pages to be printed.
For example, the print preview above shows that there is some data in a row far away. Once identified, you can then adjust those rows/columns to get rid of blank pages being printed.
That’s it – Now what?
The above guide discusses different methods of how you can prevent printing blank pages in your Microsoft Excel document.
There are many of them, and you can choose to go with the method that suits your needs the best💪
Additionally, did I mention? Excel has a variety of other tools, functions, and features that’ll leave you amazed.
Some of my favorite Excel functions include the VLOOKUP, SUMIF, and IF functions.
Other resources
Printing in Excel is a whole science.
From setting the print area in Excel to setting the print titles and headings, printing labels, and so much more. Learn all of it in our blogs here.
